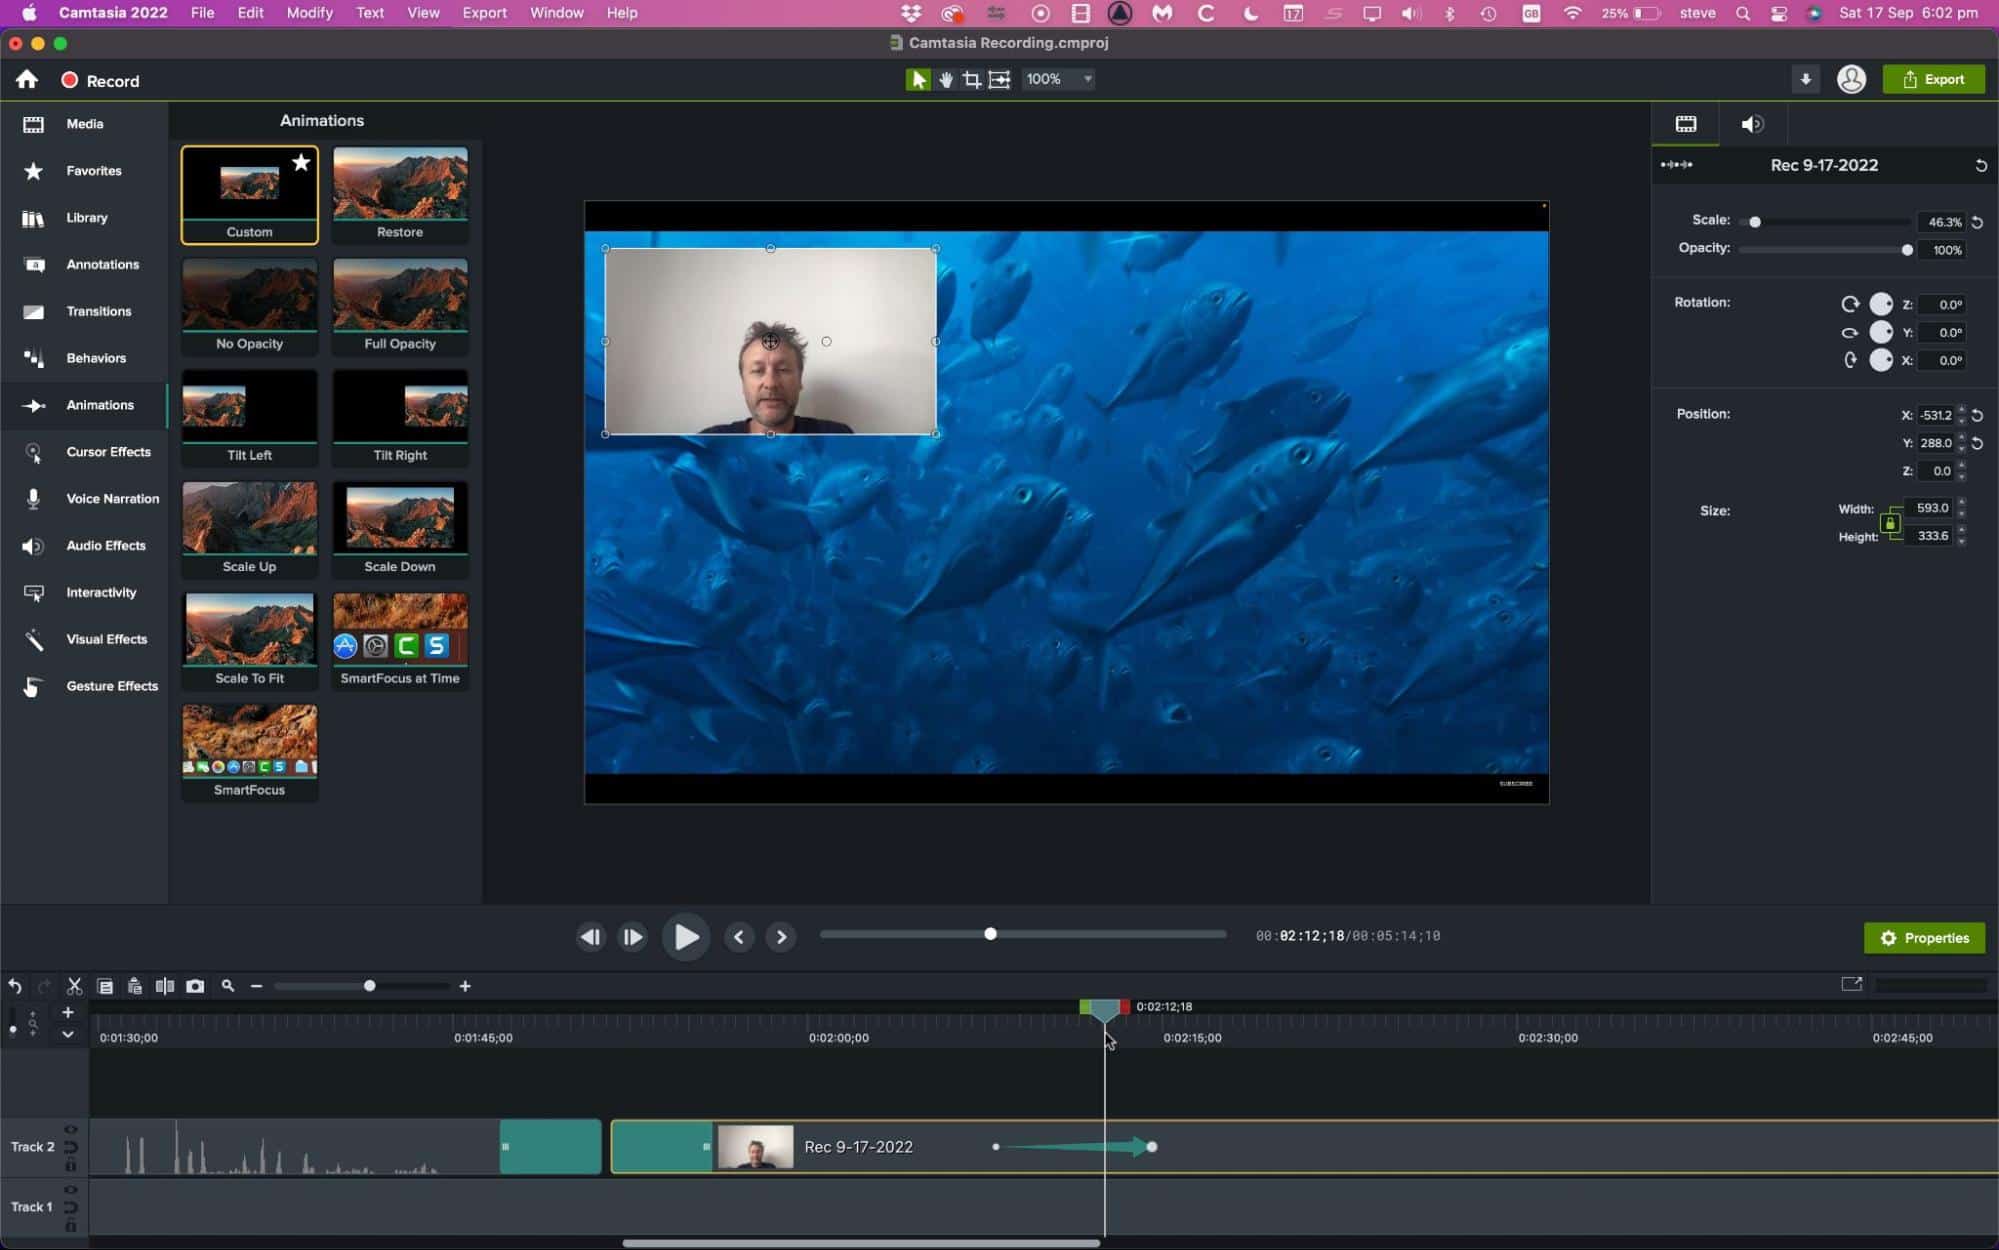
The interest of training employees in using Camtasia for a company?
An essential tool when it comes to video editing, Camtasia Studio software, developed by TechSmith, offers numerous features for businesses. It is no coincidence that this acclaimed tool has now become the number one software for screen recording and video editing.
- The software allows users to create video captures, known as screencasts, and edit them to produce high-quality videos.
- With Camtasia, it is possible to create various types of content: YouTube videos, webinar recordings, video courses, practical guides, meeting recordings, and much more.
- A graphics module also enables live drawing during your own recording, allowing you to highlight essential areas of your capture by framing or highlighting the most important points.

Introduction to the Camtasia Environment
- The editing workspace
- Basic actions: screen recording, separating audio from video, cutting video parts, adding transitions…
- Creating an introduction
- Creating the video background from a blank page
- Implementing animations
Using Camtasia
- Creating a slideshow effect
- Using slow motion and freeze frame
- Implementing the 3D effect
- Creating a video tutorial with Camtasia
- Editing and correcting your video
- Creating a presentation video
- Speeding up a video within the video
- Creating effective visuals using animations
- How to finish your video simply and effectively
- What to be mindful of?
Producing your video
• Production for the internet & social networks
Topics covered in the Camtasia training
In order to help you learn the key concepts to master a complex and powerful software like Camtasia, our organization, Quality Training, offers a beginner-friendly training with practical exercises conducted together.
Introduction to the Environment
Like many other similar software, Camtasia Studio’s interface is particularly extensive and complex, as the software is packed with various commands and functionalities. The main goal of this training will be to introduce its environment, especially its editing workspace. However, despite its many commands, the software remains relatively user-friendly, but understanding all its nuances and subtleties is crucial. You will first explore the editing workspace and the main basic actions: recording your screen, splitting the audio from your video, and creating an introduction to add to your project.
Creating the video background from a blank page
Do you want to create your first video with Camtasia Studio? Thanks to the numerous templates available in the library on the interface, it has never been easier to create a video that meets all your ambitions. You can, of course, customize the chosen template to make the video your own. Moreover, with simplified editing, you can easily add, delete, cut, or move sections of your video clips or audios. In short, you will have control over all actions!
Implementing various animations
Regarding the work done on your video, Camtasia Studio software offers many ready-to-use animations to help you refine your video and give it a unique touch. You can customize all animations according to your needs, create new action behaviors, add zoom in or out animations, or integrate panning effects to your screen recordings.
Mastering the different functionalities of the software
In terms of commands and functionalities, Camtasia Studio is one of the best in its field. For a fully accomplished video project, the software allows you to add numerous transition effects to your videos – movements, objects, fading -, add annotations, speed up a video within the video to give it more character, create a slideshow or 3D effect, or even create opacity and zoom effects. The majority of these effects are available in the Settings pane, which appears as soon as you right-click on your interface.
Finalizing your video
Creating a video on Camtasia Studio is a lengthy process, but it will be worth it as finalizing it will allow you to have a high-quality video that you can share with a wide audience. Additionally, before finalizing your project, we recommend incorporating an interactive table of contents – so that your audience can easily navigate during viewing – as well as subtitles – to make your videos understandable to a wider audience – for a highly professional result.
Sharing your project on social networks
After all these steps, the ultimate goal will be to share your project. For this, you can, of course, use a standard functionality, simply exporting your file. However, the interface offers more options, establishing connectivity with various streaming or online storage platforms. Through this, it will be very easy to export your video directly to YouTube, Google Drive, or Vimeo. You will also be able to quickly share on other social networks with just a few clicks. Finally, while the standard format of the software is MP4, you can export your video with formats such as AVI, M4A, or GIF.


