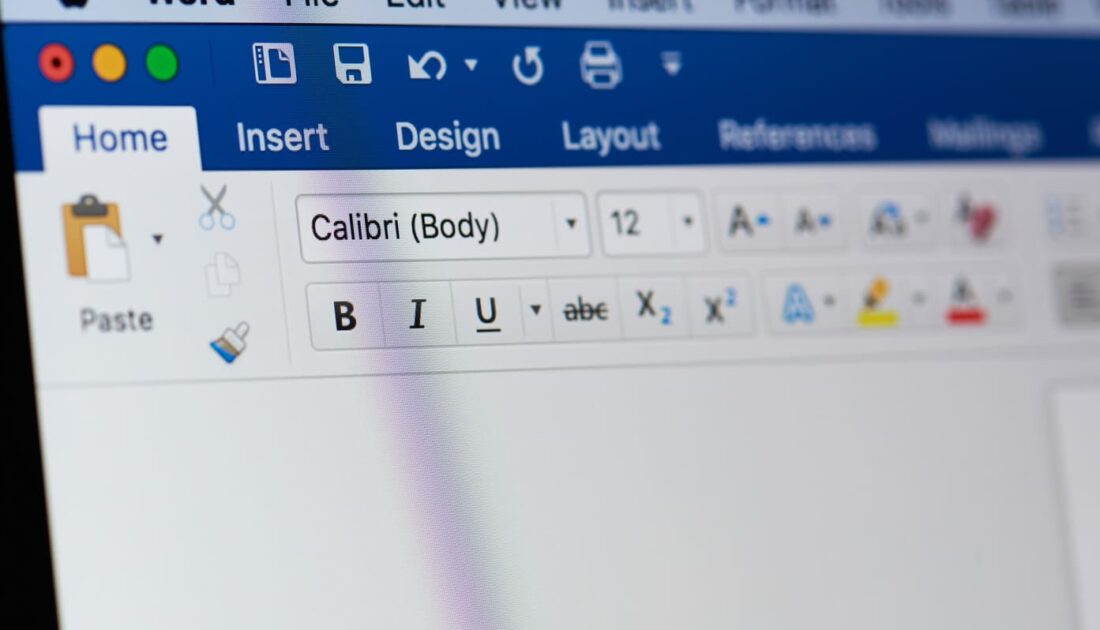
When you’re not familiar with Microsoft Word, it can be challenging to navigate through its various features. Do you want to enhance the presentation of your Word documents? Do you want to learn how to create effective headers and footers? In this article, we provide you with a simplified guide on how to create a Word header and footer.
Definition
A header is an area that appears in the top margins of a document and is consistent across all pages of your document. Meanwhile, a footer is an area that appears in the bottom margins of a document and is consistent across all pages of the document.
Creating a Word header and footer is a one-time task during document composition. Word will then automatically replicate and manage it.
Creating a Header
You need to go to the ‘Insert’ tab on your ribbon and simply select “Header.” The header selection opens a drop-down list containing different pre-designed header templates to help you create a Word header. Once you’ve chosen a template, you just need to fill it in with your desired content.
For instance, you can include the document title, an address, a phone number, or even your company logo. You can also insert a field that calculates automatically. Just go to the ‘Header & Footer’ tab and select the ‘Field’ section. A tab will open, allowing you to tell Word what should be displayed. You can input today’s date; it will appear and update as the day progresses.
Later, if you want to go back to your header or footer, simply click on it. When creating a Word header and footer, you can choose to have a different first page from the others. To do this, you need to select the ‘Different First Page’ section under the ‘Header & Footer’ tab. This option is commonly used for cover pages. It creates a separation between the cover page and the rest of the document.
It’s also possible to have left-aligned pagination on left-hand pages and right-aligned pagination on right-hand pages. For this, in the same tab, select the ‘Different Odd & Even Pages’ section.


